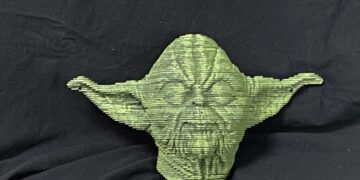
Welcome back to Frank’s Garage. In this quick bite we’re going to be doing an interesting project with Yoda. I have a few projects planned out but I figured I would start an experiment with how many ways we can make a Yoda 3D model with the tools that I have.
The first thing I wanted to try was make a real large model of Yoda. Now, that is too big of a format for a 3D printer, so I figured I would build it in small slices.
I started off using Autodesk Fusion 360. I just used an STL file that I have loaded in, so it’s a common 3D printer file.
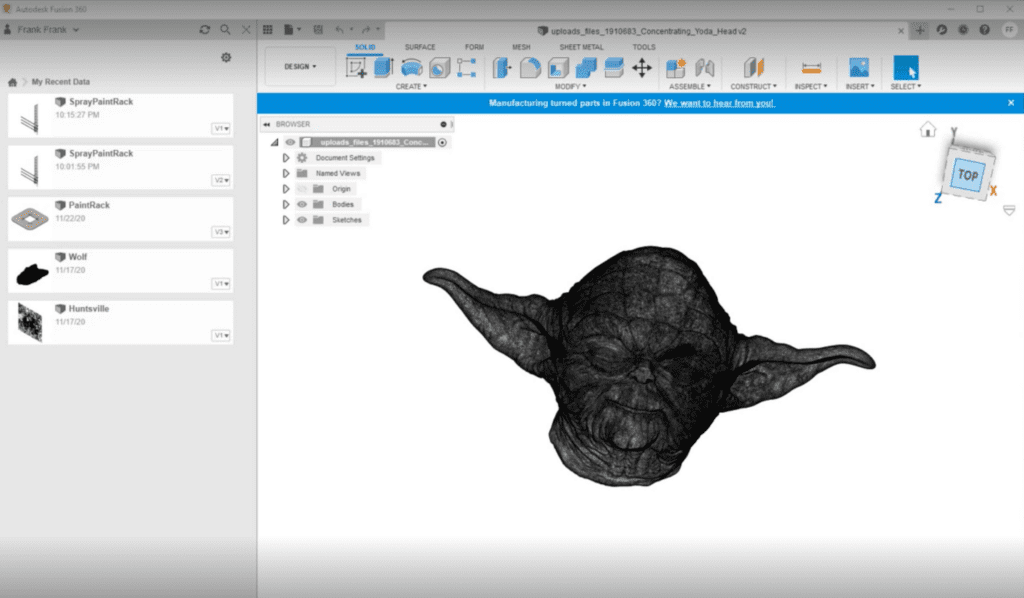
So we are going to slice Yoda into this 3D model. To do that we are going to use the Slicer tool that Fusion 360 makes available.
All you do is load your STL file into the slicer, set your settings for what material you will be using, tell it how big you want your Yoda head to be, and as part of the manufacturer’s settings you will want to set what the width of your wood is.
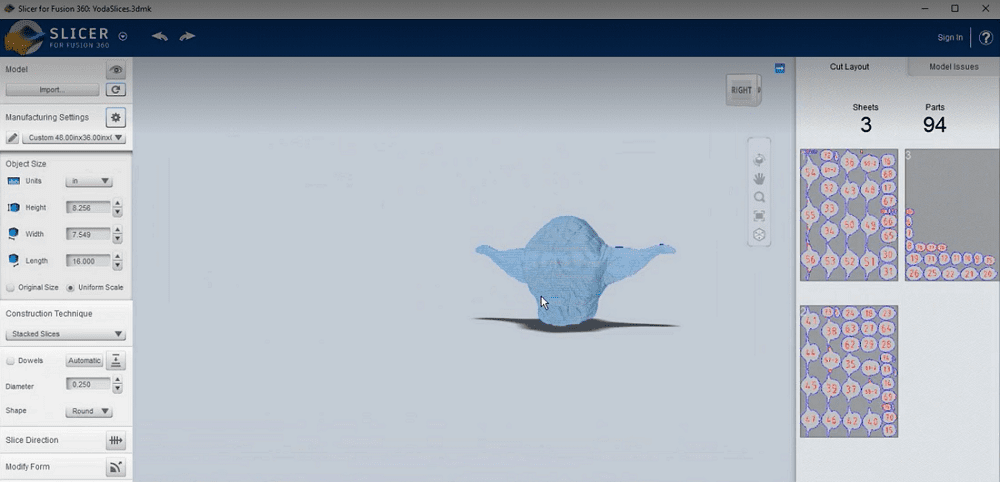
Once you do that you can have it slice, and it will give you a number of sheets you have to laser in order to get your slices. Mine came out to 3 sheets.
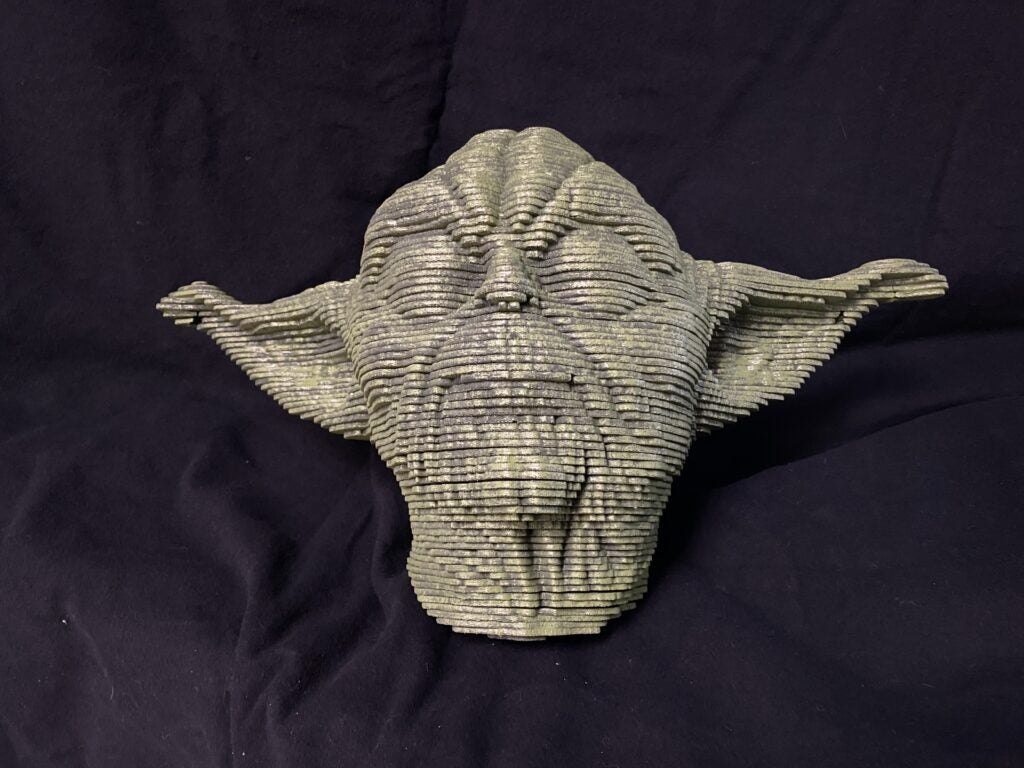
So now I can load Yoda into a program for my laser and we will get it lasered! It is a fairly simple process, took about an hour from downloading the model to getting it to my laser, then the 3 sheets probably took another hour. Here is the final result:
Thank you for joining us for another Frank’s Garage Quick Bite. We hope this inspired you to create some beautiful pieces of your own. If you’re looking for more project ideas click the link below.
We would love to see your finished projects, send pictures or videos to the email below to be featured on Ultra Librarian.


